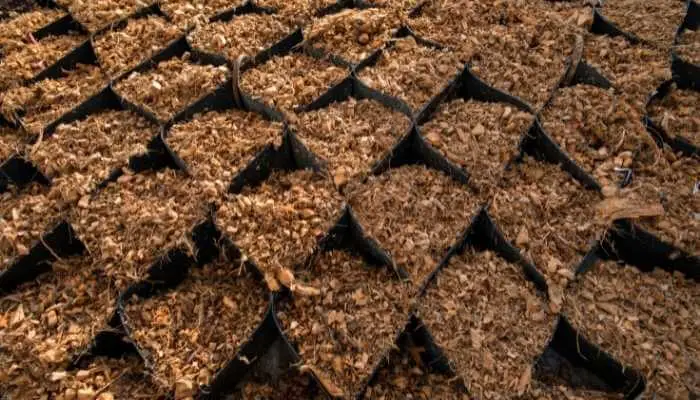
Coconut coir, or the material processed from coconut husks that can be used as a substrate in gardening, is quite sustainable. Once processed, coconut coir can take a minimum of 20 years to decompose. If it’s not processed into pith, but left fibrous or in chip form, it can take even longer. So why take up landfill space when you can reuse your coco coir?
It is much more practical to reuse and repurpose coconut coir than to simply do away with it. Recycling and reusing the coco coir after every growing season not only saves some money, but it’s good for the environment.
The question is, how do you do it?
Remove Waste and Clean Your Containers
The first thing you should do before reusing coconut coir is to sift it through a screen into a clean container. If possible, the container should have already been cleaned well to rid it of any harmful microbes. By going through the coco coir, you can remove any old dead roots, leaves, pests, or anything else organic that might lead to contamination.
Whatever containers you plan on using for planting should also be cleaned. They should be washed with the goal of keeping them free of bacteria, viruses, and fungi. The coco coir won’t have any and you don’t want to introduce it to something that is contaminated with it.
How to Wash or Sterilize the Coconut Coir
Washing or sterilizing is important for the reuse of coco coir. Sterilizing the material helps prevent the spread of disease. Just because the coco coir doesn’t come with viruses, fungi, or bacteria, doesn’t mean that it won’t wind up with these harmful microorganisms if it’s been overused or has been in contact with them during the previous growing season.
If you are an organic farmer, chemical sterilization is out. However, if this is fine with you, bleach, hydrogen peroxide, or quaternary ammonium salts can sterilize your coconut coir. It can be submerged in a bucket of a bleach mixture that is 4 teaspoons of bleach to every gallon of water for at least half an hour. It can be soaked in a mixture that is 35% hydrogen peroxide and 65% water for at least 2 hours. Or you can use the ammonium salts per the label’s directions.
The organic allowable method of sterilization is by use of heat. It’s actually the same as pasteurization. If you’ve got small amounts of the coconut coir to sterilize you can literally use an oven or grill at 180°F (82°C) for half an hour. If you place a tarp over the moist coco coir on a bright, sunny day, and the temperature can get up to 150°F (65°C) for half an hour all pathogens should be killed. Microwaves can be used, but that would have to be a very small amount at a time – 3 – 5 minutes at a time.
The only problem with heat sterilization is that it will kill both the bad and the good microorganisms – but not all of the good ones. Most growers agree that getting rid of the bad microorganisms is preferable to keeping all of them. And the good one will replenish with your added soils.
How to Wash and Buffer the Coconut Coir
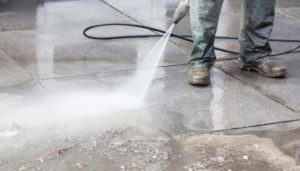
You can simply wash the coco coir with distilled water to remove any excess salts that have formed in the substrate. It’s as simple as placing the material in a container that is drainable (has holes in the bottom that will drain water but not lose the coco coir). Then, you just pour the distilled water over it and make sure it rinses all of the coir.
Some growers opt to treat the coco coir with a buffering solution that reverses the bonds made between the media and the salts, which releases potassium into the soil and will help reestablish the proper elements. When coir is buffered with either calcium or magnesium the chemical reaction causes any nutrients added to the medium that contains the coco coir to pass directly to the plant easier.
Buffering is handled much like washing, only the solution will need to be mixed with the proper amount of water before adding it to the coco coir and draining.
Then, a special enzyme formula (usually Sensizym) is used to break down the old root materials left. They break down into carbohydrates that are consumed by beneficial microbes left in the coco coir. This will begin the cycle necessary to keep your substrate and when mixed – your soil healthy. And once this is done, the coconut coir is ready to be reused.
How to Prepare the Coconut Coir for Reuse
The only thing left to do once the coconut coir is ready would be to add it to other substrates and soil per the needed mixture percentages that will best benefit the plant you plan to use it for.
Usually, for potting, or a gardening mix, you would use 40% coconut coir with your other soils and substrates, whether it’s a preferred potting mix, perlite, vermicompost (worm castings), etc. But I’ve found that mixes vary per use and gardener.
Recycled coco coir is mostly there for deep soil aeration and water retention. Because of the processing of the recycled coco coir, it’s best to use the material in the planting of already established and thriving plants, not for seedlings that might not be able to handle the changes in recycled coco coir.
You may need to add water rich in calcium and other nutrients to rebuild the health of the soil you’ve used the coco coir as an amendment to.
If you want to know more about what plants do well while using coco coir, look into my article, “What Plants Grow Best with Coconut Coir?” I hope these articles have taught you more about the materials you have available for your backyard gardening.
This is a simple, short video that shows how a person can take a compacted brick of coconut coir, get it to expand in water, and then wash & buffer it to get it ready to mix with whatever other substrates and soil they want to prepare.
")
")
")
")